Do you like travelling and taking pictures? Read my tips on how to take better pictures while hitting the road.
Those who have been following my blog for some time know I was a travel photographer before becoming a travel blogger. This is one of the main differences between me and other Travel Bloggers. I first started my website mainly as a portfolio website for my pictures, and only after a few years, I started writing about my trips. I think it’s time to write my guide on How to take better Travel Photos.
This post won’t be technical, but I will show practical examples. If you want to go a step forward, don’t miss this article, where I explain how you can sell your pictures and stock footage and maybe become a digital nomad one day.
You don’t need to spend thousands of dollars on the latest camera or lens, but you need to practice what you learn and try to make the best use of your gear. Remember: Photography has little to do with equipment but everything to do with the photographer.
Here are some tips on how to take better Travel Pictures:
Try to get the best shot WHILE you are traveling

If you use a professional camera, it’s possible to correct some exposure issues on your files once you are back home, but with cheaper cameras and smartphones, that’s more difficult and, in some cases, impossible. That’s why taking the best possible picture while shooting is always better.
Today you can take as many pictures as you want without worrying about how much you’ll pay for the films, so I suggest taking many pictures. Be sure to check that the horizon is straight; otherwise, you’ll have to fix it in post-production, and you’ll have to crop part of the photo. Check the exposure and ensure the image is not too dark or too light.
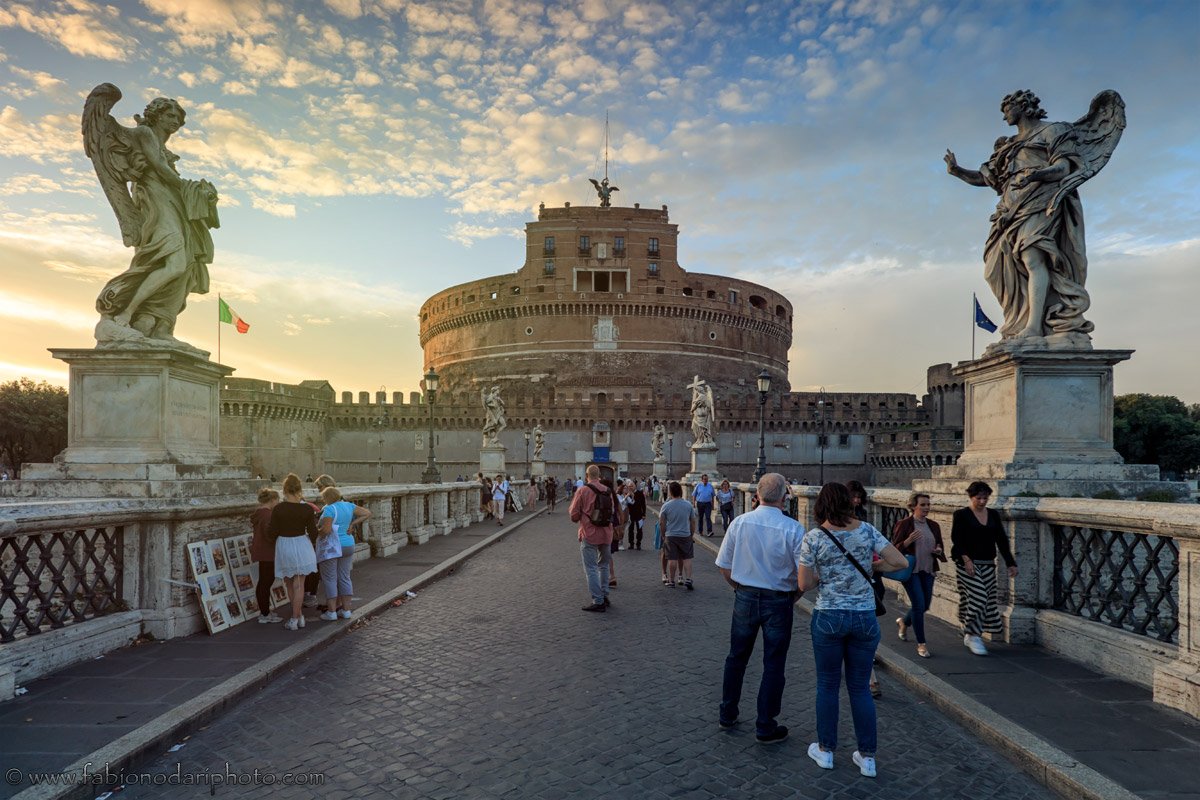
Think about the composition

You can find countless books and articles about the importance of composition in photography. One of the most important things to remember is the rule of thirds.
What is it? According to the rule of thirds, an image should be imagined as divided into nine equal parts by two equally-spaced horizontal lines and two equally-spaced vertical lines, and those important compositional elements should be placed along these lines or their intersections.
If you want the photo to be more interesting, generally, it’s better to avoid putting the horizon right in the middle of the picture. The same is true for portraits. Remember, however, that even if you call it a “rule”, you don’t have to follow it all the time. The secret to taking nice photos is knowing the rules and when you can break them.
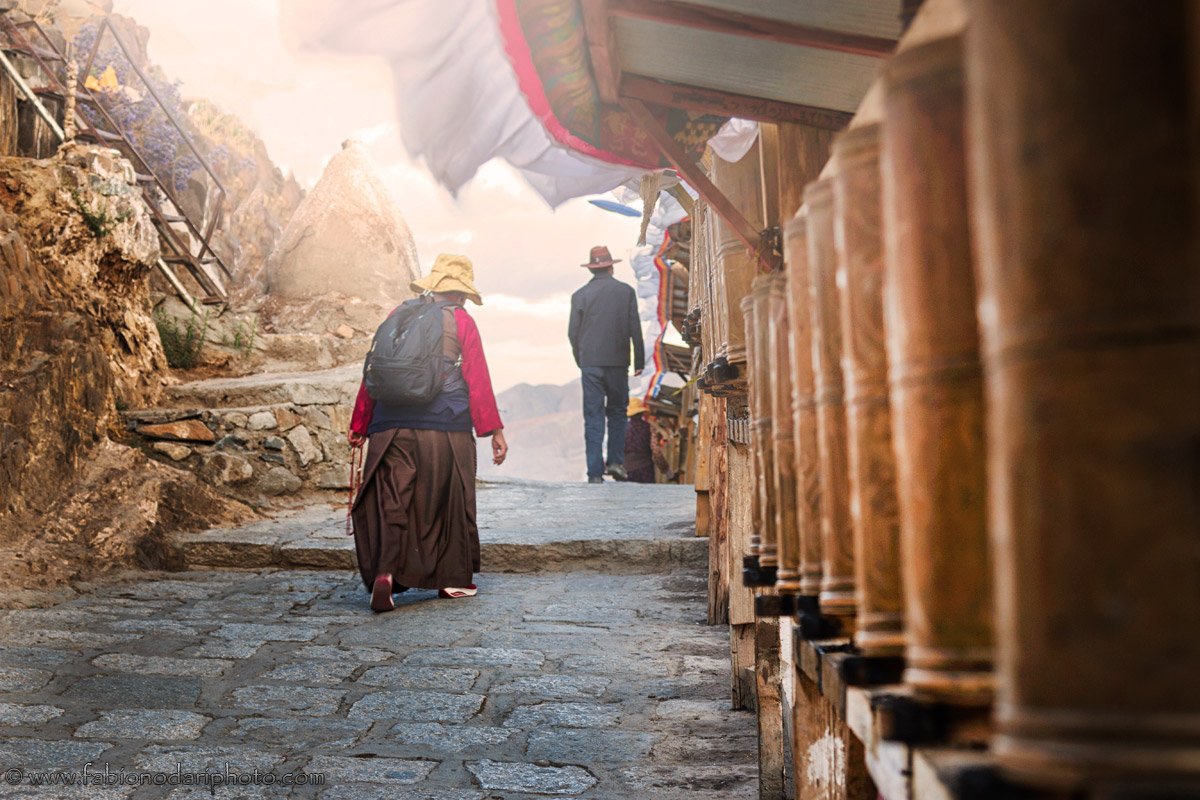
Use natural guidelines
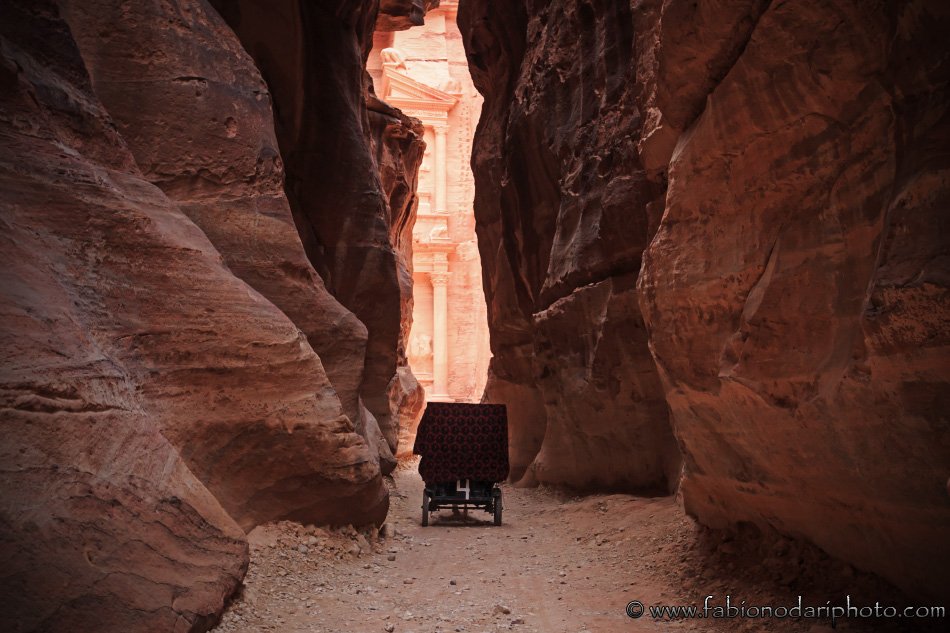
Using some natural guidelines to “guide” the eyes to the picture’s main subject is a good idea. It takes a while to start noticing those lines, but it will become quite easy.
One example in the picture above is where I used the rocks in this canyon to guide the eye toward the main subject: the Treasury of Petra.
Avoid camera shake
It’s too bad when you spend quite some time taking your pictures only to realize when you return home that the images can’t be used. To avoid this problem, keep your arms close to the chest and slightly extend your legs. If possible, use a tripod.
Remember that it’s impossible to correct blurry pictures even if you have a 5000$ camera.
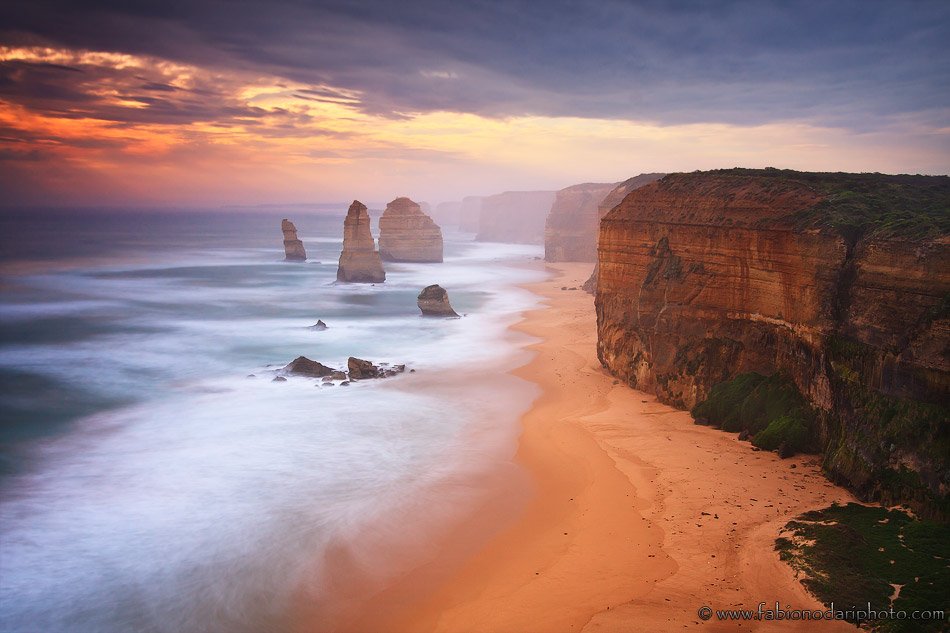
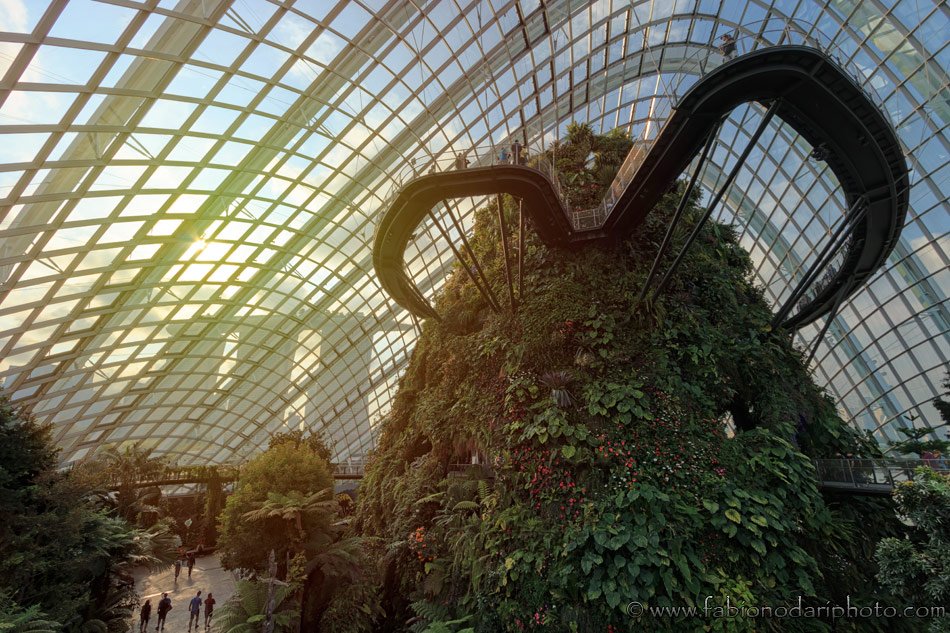
Think about the light
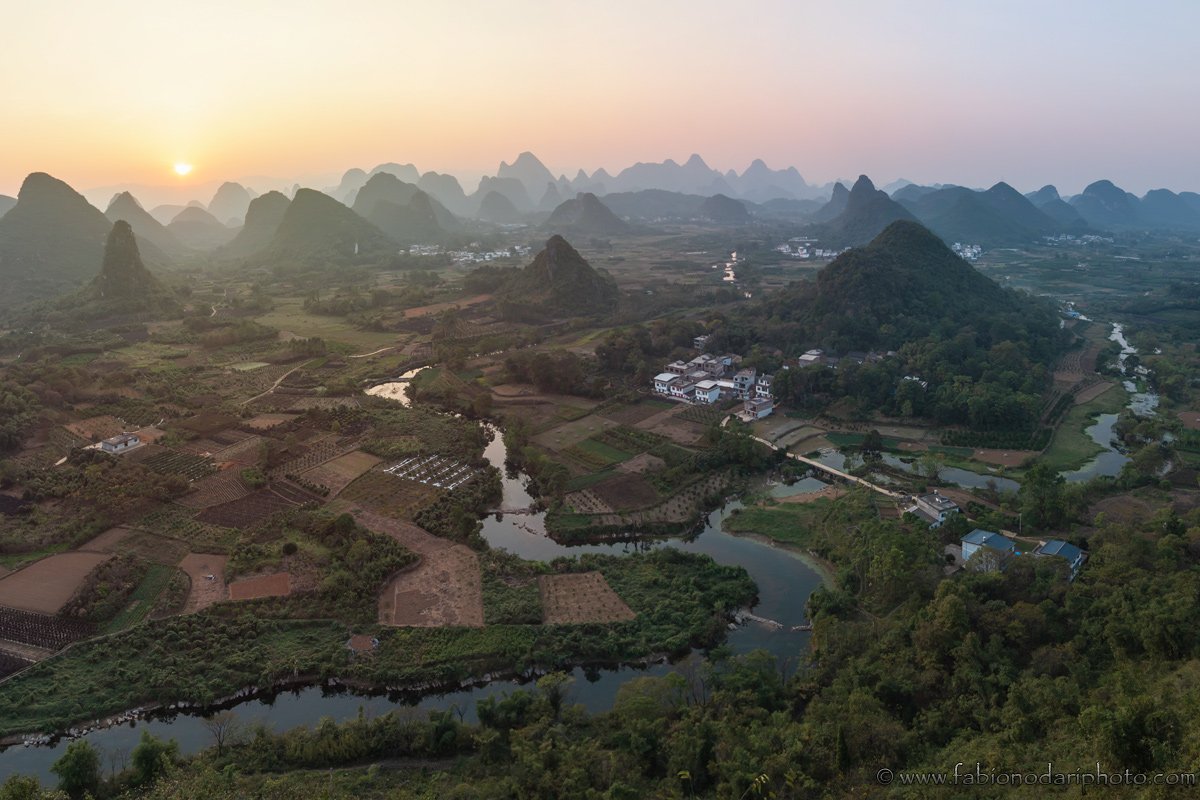
The most important element in photography is light. It might seem obvious, but many people forget about it. Thinking about light means considering the best time to take pictures.
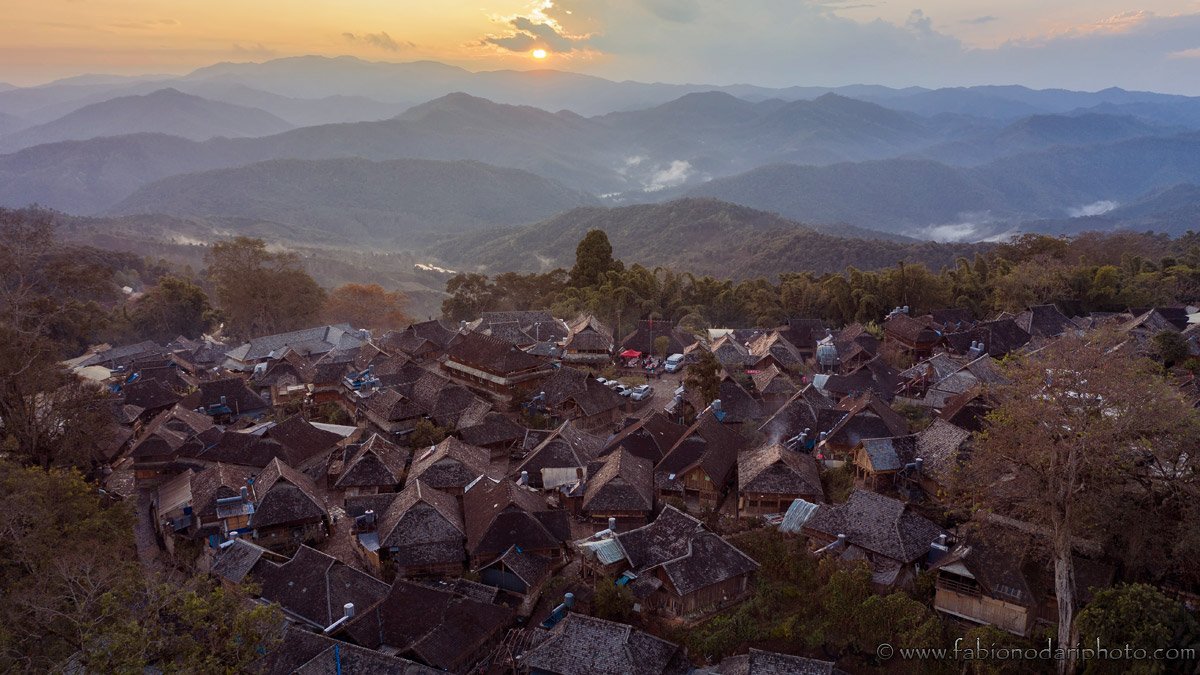
Usually, the best light is around sunrise or sunset, not at noon. I prefer sunrise because there are fewer people around, and if you want to photograph something without people, it is the best time. Honestly, however, it’s not always possible to take pictures at dawn or sunrise. So what can you do if you are forced to photograph when the light is too strong? These are some tips:
- Be sure to have the sun behind you
- Avoid scenes where you have half of the picture in the shade and half in the sunshine
- Use a polarizer filter to reduce the reflections and enhance the sky

The picture above was taken in Hokkaido, a beautiful island in northern Japan. Since I couldn’t shoot it when the light was good, I decided to include just a small portion of the sky, and I also used a GND filter to reduce the contrast. The point is: to try to make the best use of your time. If you can’t shoot with a better light, go ahead and shoot anyway, but do whatever you can to improve your picture.
Look for the right location
Today, finding interesting locations to take good photos is quite easy. I often use Shutterstock to see which photos sell well for a given location and get ideas about what to photograph. Just type the name of the place you will visit on their search bar, and you’ll have a lot of different options.
Another very useful tool is Instagram (click here to follow me). You’ll have plenty of photos to inspire you.
Another “trick” I often use if I don’t know much about the place I’m visiting is checking some of the postcards sold in local shops. With this method, I have often found places not mentioned in popular travel guides. Remember to use these tools to inspire you, not simply copy other people’s ideas: be original!
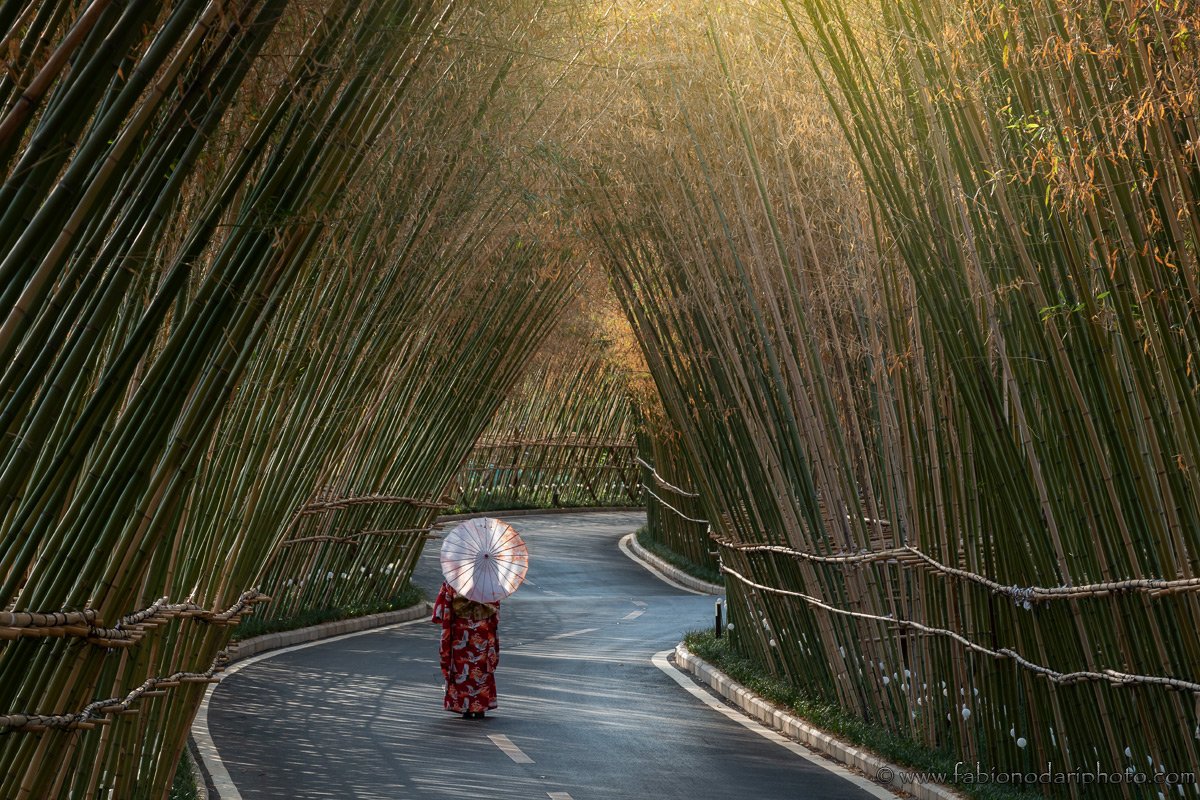
Use the depth of field appropriately
In simple words, focus only on what you need. Remember that getting a picture like the one you see above is easier if you have a professional camera. But you can do it, to some extent, even with a smartphone: touch the subject you want in focus, and the background should become a bit blurry.
For better results, try to have a good distance between the subject and the closest object in the background. The more distant the background, the better the blur will look.
Be sure to have some spare batteries and SD cards

If you use a tablet or a smartphone and take many pictures, getting a powerful power bank is a good idea. Getting a solar-powered power bank is a good idea if you travel in remote places without electricity.
There’s nothing worse than being in the most beautiful place on earth only to realize that your devices are dead or that you don’t have room in your SD card for more pictures or videos.
Which gear do you need to take better Travel Photos?
As you’ve noticed, I’ve hardly ever talked about equipment. That’s because, as I said at the beginning of this post, you can take beautiful photos even with your mobile phone if you’re not a Pro and don’t want to spend much money. This doesn’t mean that a professional camera is not a good investment; on the contrary, if you are a Travel Blogger, you should consider getting a professional camera and a couple of good lenses.
Whatever tool you use, remember that practice makes perfect! Get outside and take as many pictures as you need to improve your technique to be ready to take better pictures on your trips.
Here, you can find a review of a useful Photoshop tool to merge two exposures: Luminar Neo.


I was flattered that you took note of the little cuttlefish that I posted on Instagram. I read your complete lesson full of helpful tips for taking better pictures. I learned a lot. Thank you! ☺️
Really happy about it!
Thanks a lot! Interesting and useful advices!
Thanks Anya!
Sound recommendations I went from slr and better than point and shoots to mirrorless (sos-c due to traveling. Haven’t really gone too wide but am now contemplating the Sony 10-18. Have two other zooms and two single focus plus a 105 macro w adapter. Your wider zoom is in range w the 10-18 I plan to purchase. I have the Sony 18-105 which is working well and may replace my 18-200 for travel— glad I had it in Denali last June.
Thanks for your info. 😉
really helpful tips to starting with travel photography. most important: practice, practice, practice
Thanks. Yes practice makes perfect…
thanks for the tips
My pleasure