Read the complete review of the Raya Pro 6 + InstaMask Panels for Digital Blending created by Jimmy McIntyre.
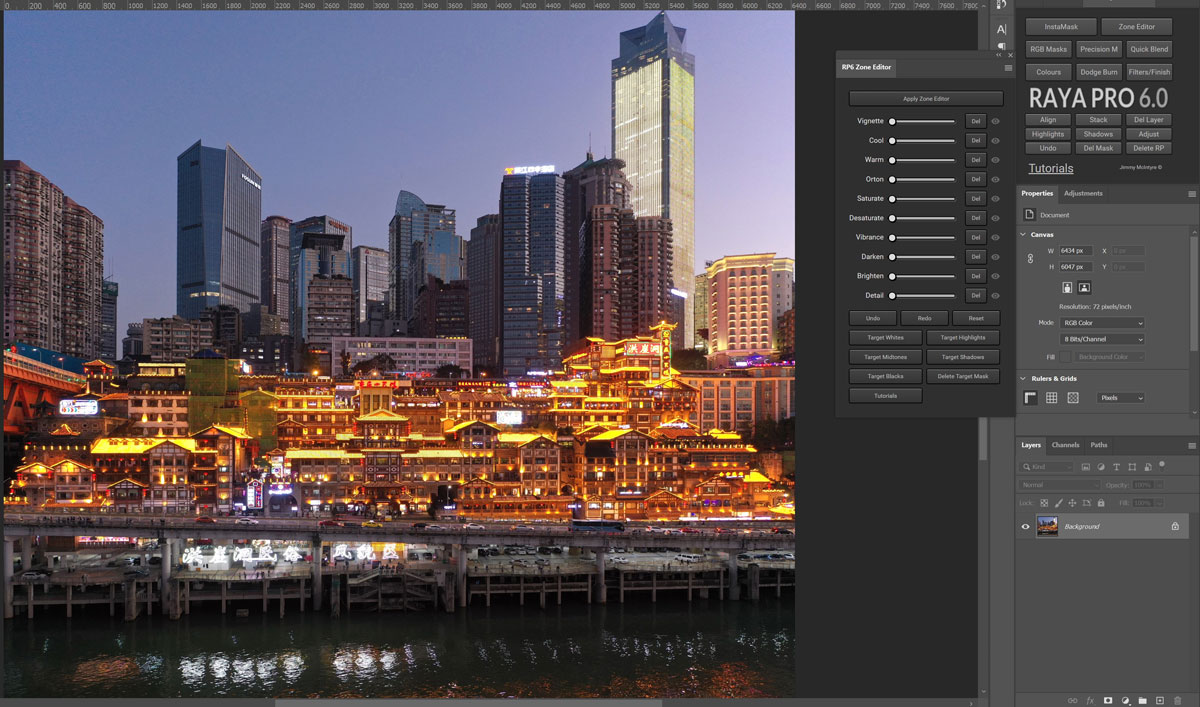
Have you ever felt overwhelmed by the number of functions Photoshop offers? Honestly, I did. For me, the best approach has been to learn new functions when I need them. Today, I’m not an Adobe Guru, but I know Photoshop well enough to do what I need to do, and that’s the important thing.
Some functions, though, require some time to be performed, even if you know Photoshop quite well. In this case, a Panel, or a set of commands put together by a developer, is quite useful: at the end of the day, it will save you a lot of time, and if you just started using Photoshop, it’ll save you even more time. Just click one button, and you are done.
Several panels are available for Photoshop, but some of the most useful are those that allow you to work with luminosity masks and help you blend different exposures of the same image digitally.
As I said, you can do all these things yourself if you are skilled in Photoshop, but using a Panel will save you a lot of time. Two of these Panels are Raya Pro 6 and InstaMask (both sold as parts of the same panel).
Introduction to Raya Pro 6 and InstaMask
Raya Pro 6 and InstaMask have been developed by famous Traveler and Photographer Jimmy McIntyre. Jimmy is a nice guy who has spent about 7 years travelling the world, and recently he decided to go back home to beautiful England.
Besides being an expert traveller, He is also a skilled photographer, as you can see from his website. What I like about him is that he is always ready to help out other fellow photographers.
He has an interesting YouTube channel where he explains in detail how to use his Panels and achieve the same results without them. That’s neat! Another thing I like about his work is that He invites Photographers to send him the pictures they find particularly challenging to digital blend, and He will do it for them.
With this being said, it’s time to talk about the panels. I won’t explain how to use them in detail because that will take forever, and Jimmy sells a thorough 4.5-hour video tutorial that will teach you how to become a Raya Pro expert. So, I will mainly talk about some of the functions these Panels offer and how you can implement them in your workflow.
Getting started with Raya Pro 6 and InstaMask
Installing the Panels is quite easy. Raya Pro 6 is available for both Photoshop CS and Photoshop CC. You’ll get a short video to walk you through the installation process when you download the zipped file.
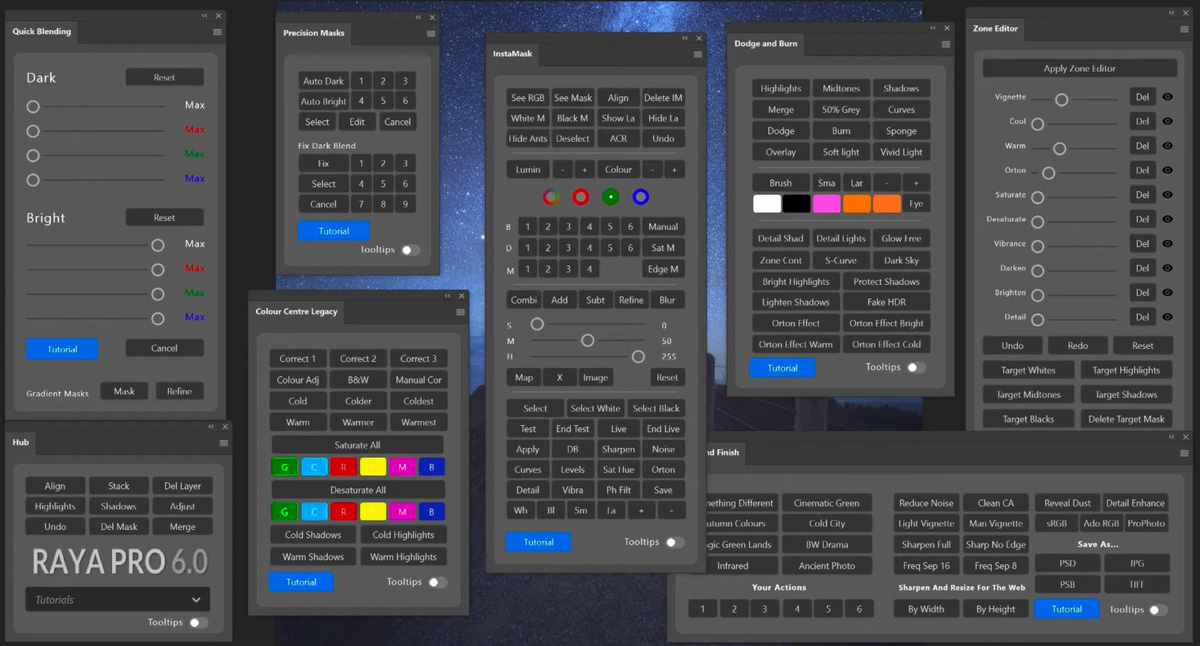
After installing Raya Pro 6, you can activate it by clicking Window > Extensions > Raya Pro 6. Raya Pro 6 comes with the main panel called Raya Pro 6 Hub, from which you can enable and disable the panels you see in the picture above. Most of the time, though, you’ll use just one Instamask.
The main goal of Raya Pro 6 is to help you blend your multi-exposures. You can do it using different tools such as Highlights (applies a mask targeting the highlights), Shadows (the same concept but applied to the shadows), Luminosity Masks, Instamask, and the Quick Blend tool. Sometimes, Highlights and Shadows will give you a great result, and editing your images will take 2 seconds. Other times, the result is not that good due to the particular light, and you’ll have to spend more time blending the images using other more advanced settings in the panel.
Apart from giving you many options for digital blending, Raya Pro 6 offers some useful shortcuts to adjust the contrast, warm the colours, add an Orton effect, etc.
You can even record your actions, like adding your watermark. One of my favourite functions of this Panel is the Stack button that adds all the images you have opened on Photoshop as layers of a single image and aligns them.
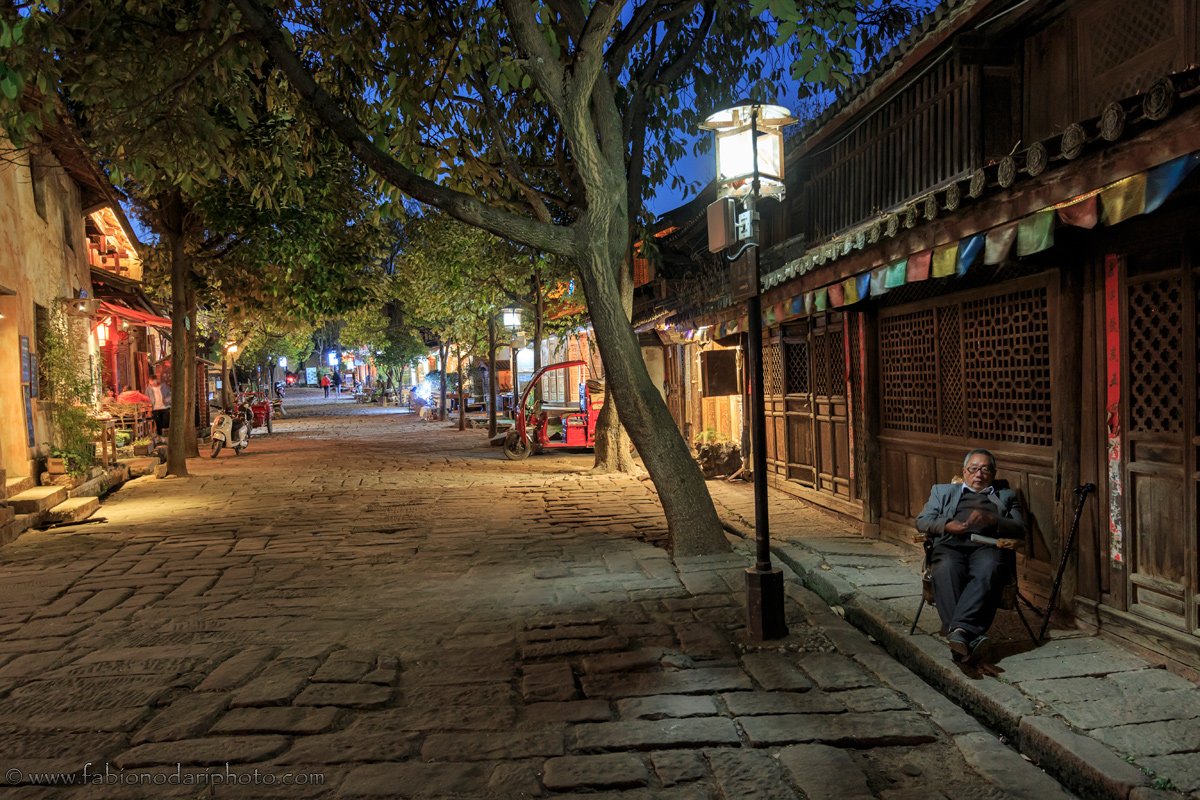
What I like about this Panel is how easy digital blending becomes. I must admit that I’ve never been a big fan of double exposure since I love working with graduate Filters, but sometimes getting the right exposure with the filters is impossible. The picture below is one example.
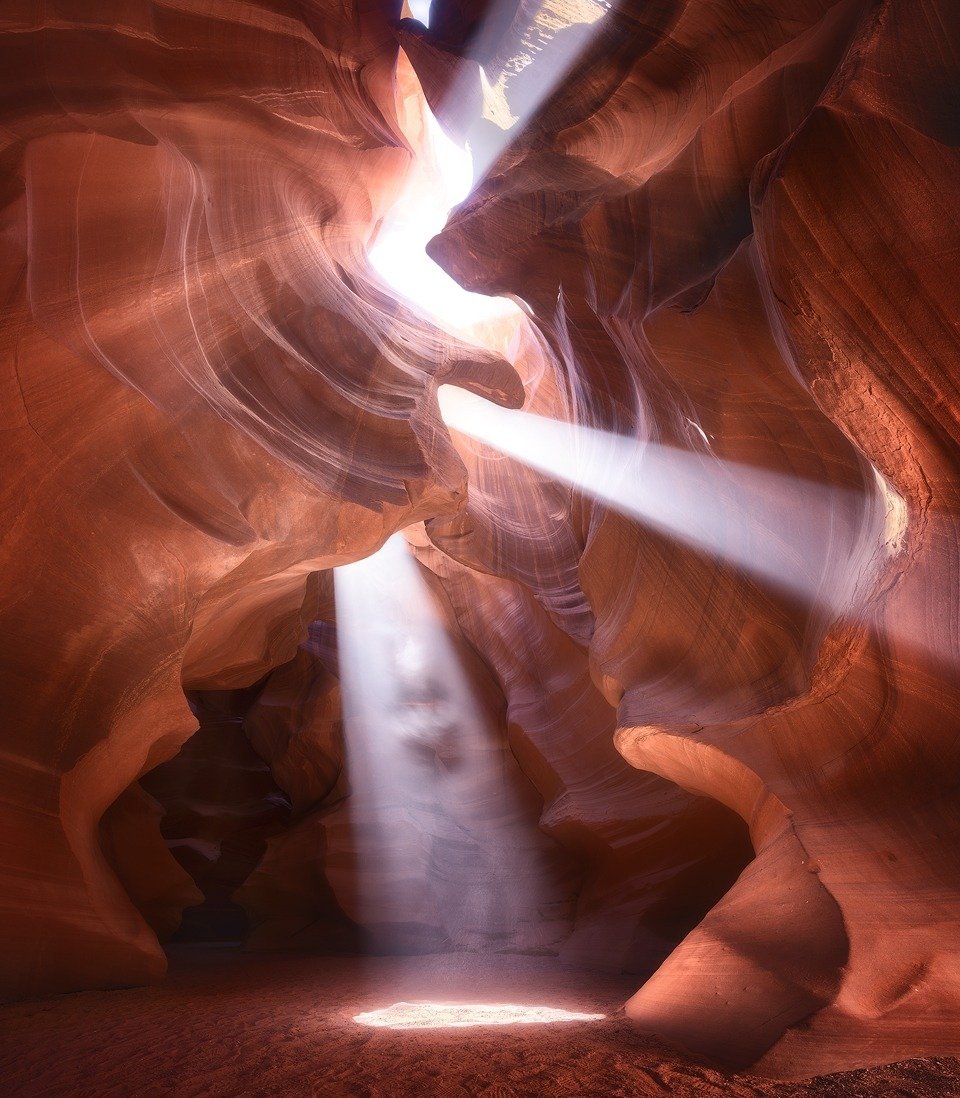
This is just one example of what you can do with Raya Pro 6.
One thing to remember is that it’s extremely important to take good pictures while on the field. Photoshop is a great tool, and combined with Raya Pro, it’s incredible to see what you can do. But you start your workflow with good pictures.
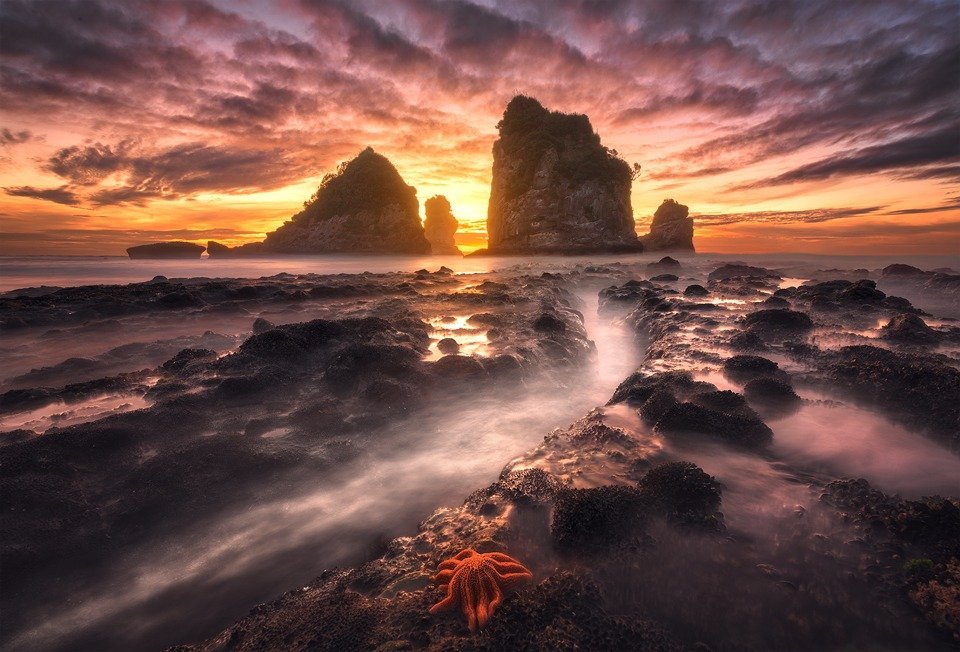
So if you think that Raya Pro 6 is a magic wand that will instantly turn your bad pictures into something great, I’m sorry, but that’s not the case. If, on the other hand, you know what you are doing and go home with good images, then Raya Pro 6 will help you turn your good images into stunning shots like the one above.
What’s new in Raya Pro 6?
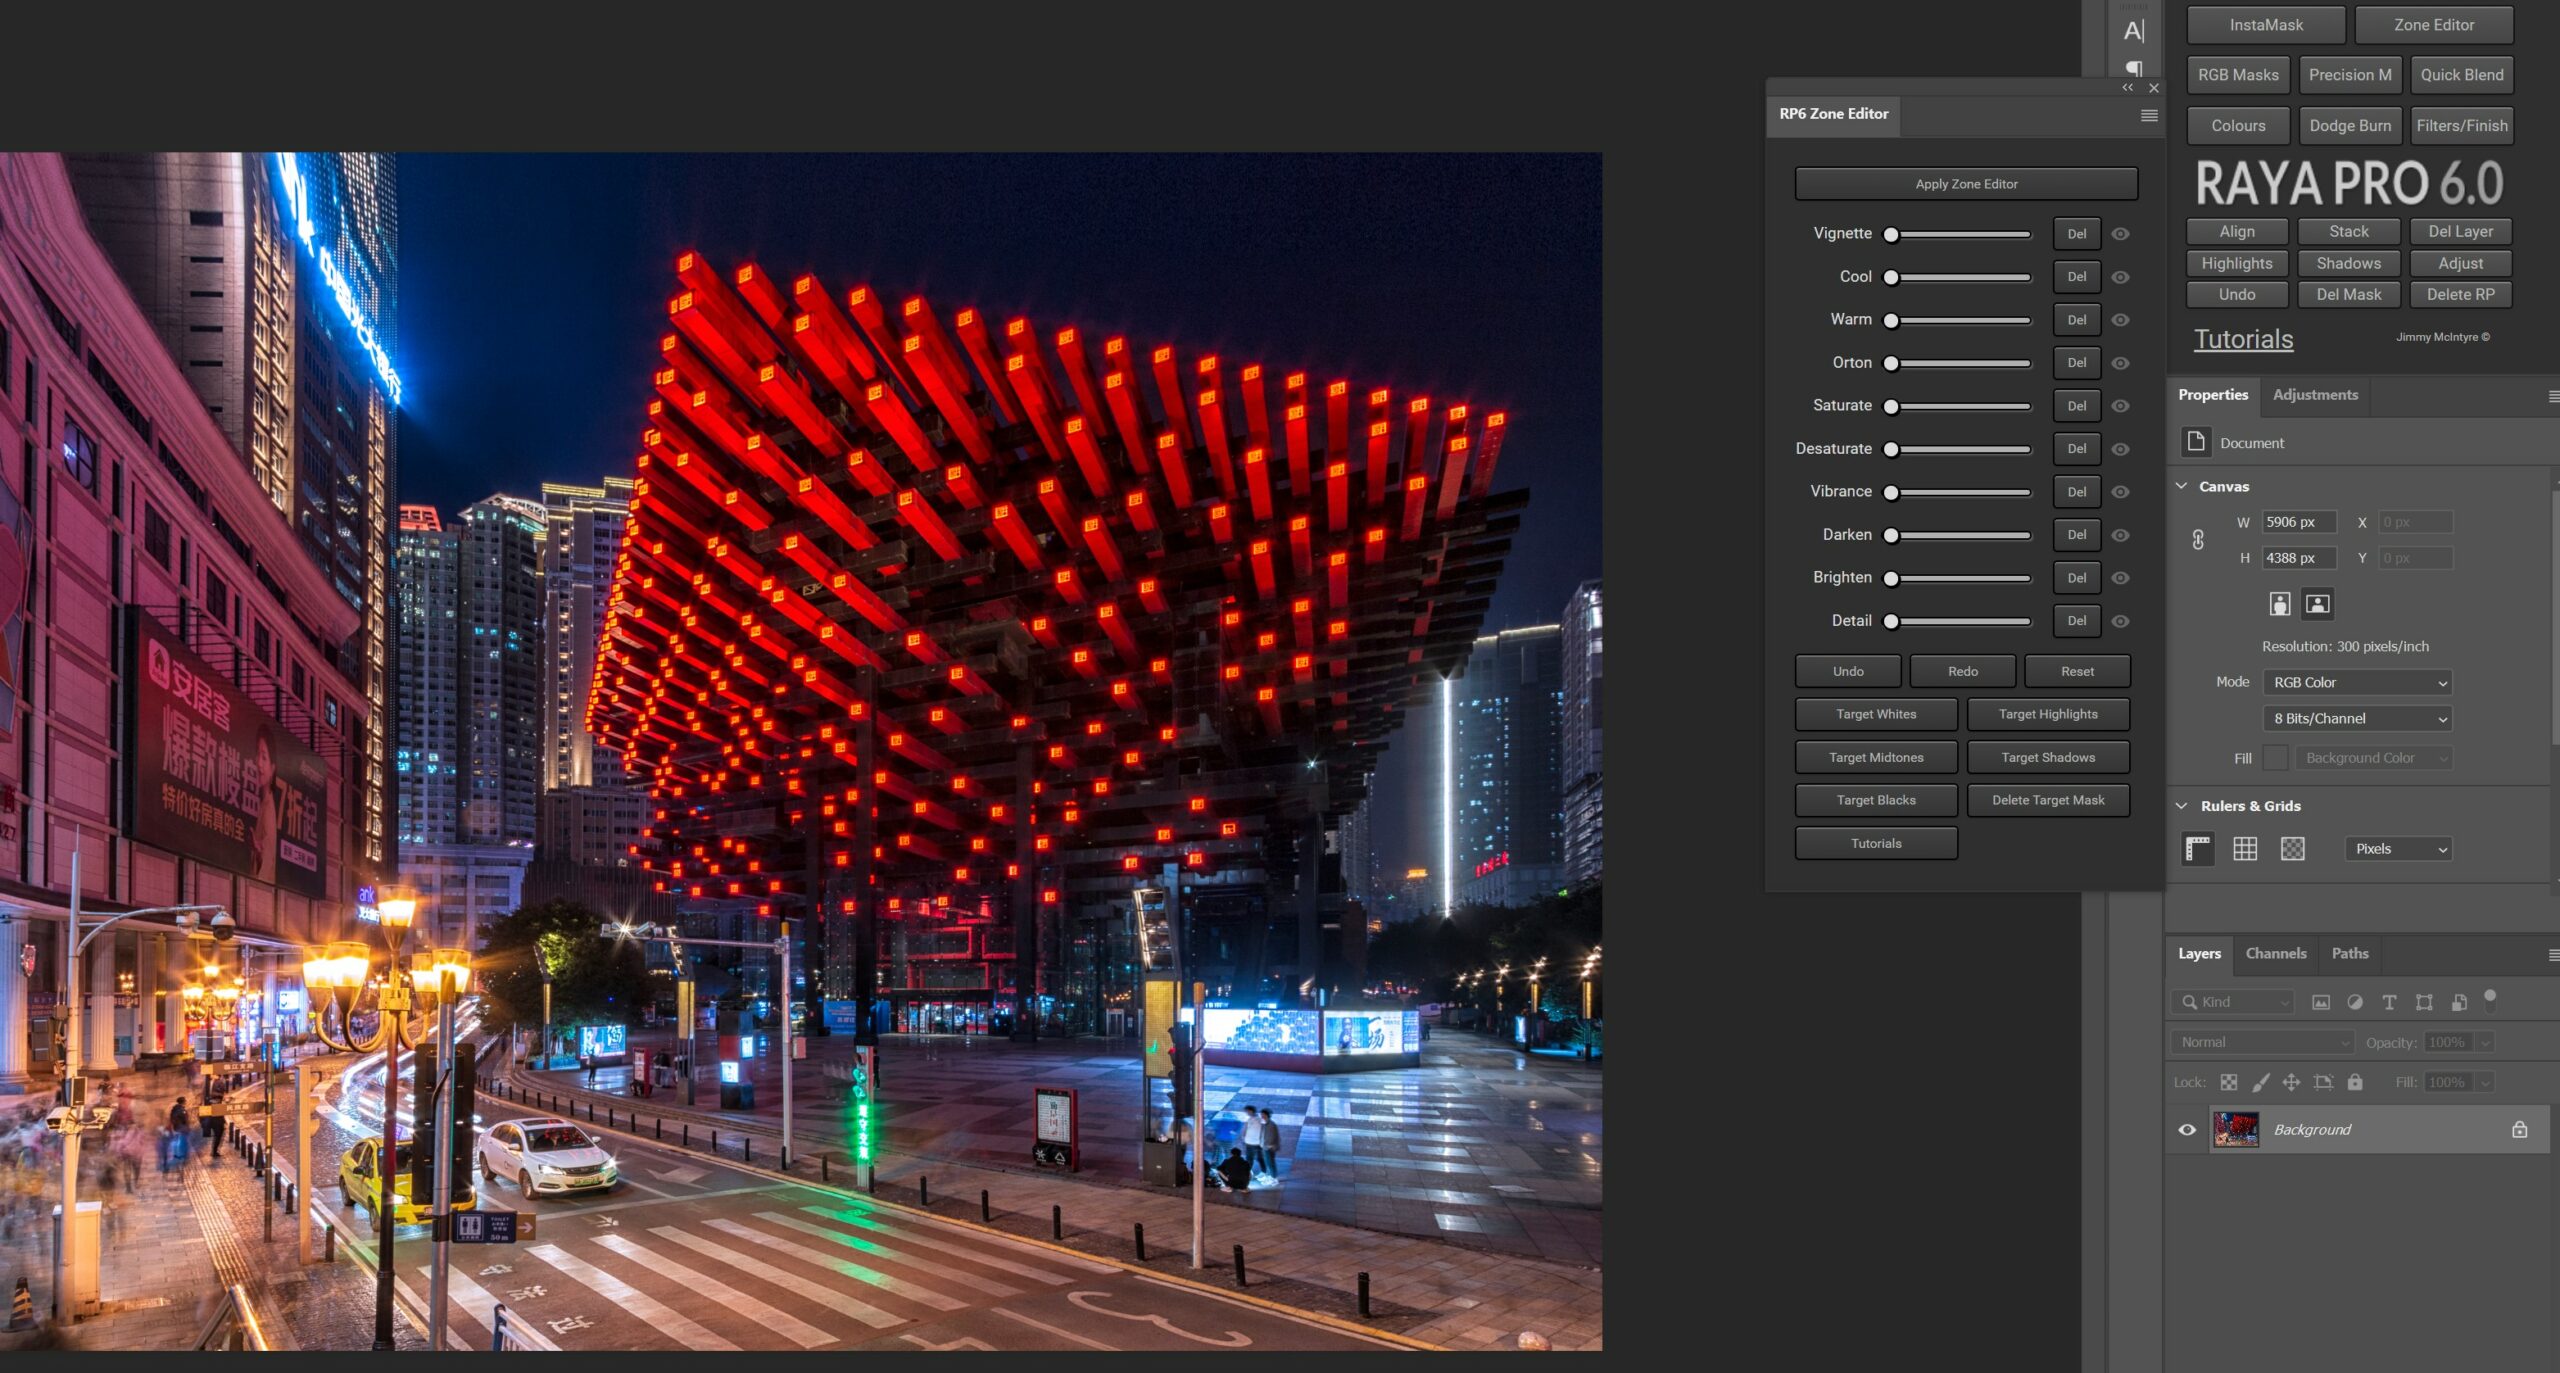
After introducing the Quick Blend panel in Raya Pro 5, version 6 introduces another very useful panel called Zone Editor that partly replaces some functions of the Color Center and Dodge and Burn panels. Clicking the Apply Zone Editor button will create a folder where you will find 10 layers, one for each option of the Zone Editor. To edit individual layers, move the slider on the panel. You can also apply masks for highlights or shadows.
This panel can be used after blending two or more exposures, allowing you to fine-tune your images easily.
What about Instamask
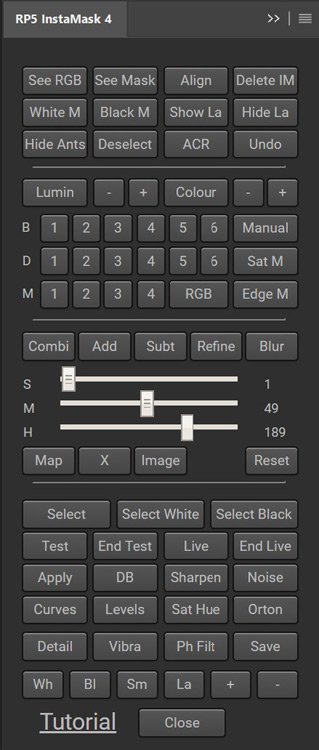
Raya Pro 6 is just one of the Panels you’ll get (for the price of one). Another very important one is called Instamask, and I had the pleasure of being the first to test it when it was first released a few years ago.
The main difference between the two Panels is that Instamask is a Panel dedicated to creating masks. It’s divided into three main sections:
- one to create the masks
- another to refine them
- and the last one to apply the masks to the image.
You can, for example, apply a mask to a curve level or an Orton effect. As you can see, this powerful Panel simplifies much of your work if you regularly use masks.
InstaMask also allows you to test a mask before applying it to the image and create Luminosity Masks based on Color Channels.
It sounds more complicated than it is, but when you purchase it you’ll also get a video tutorial explaining everything you need to know. If you think it’s too complicated, don’t give up. Mastering the Luminosity Masks is very important to take your pictures to the next level.
While Instamask provides a series of tools to help you speed up the work of selecting and creating luminosity masks, its main limitation is that Photoshop does the math behind creating those masks, and it’s far from perfect. If you want to use a more advanced plugin specialized in creating luminosity masks, check out Lumi32 (here is my review).
It’s also been created by Jimmy. Its main advantage is that it uses a proprietary algorithm to select and fine-tune the masks. If you read my review, you’ll understand what I mean. For clarity, if you are an average user, Instamask will be more than enough.
If you want to become a pro in blending images using Instamask, I recommend buying the Raya Pro + Exposure Blending bundle course. Here’s a discount.
Is it worth buying Raya Pro?
These are some of the Pros and Cons I found after using Raya Pro 6 and InstaMask for a while:
Pros:
- Digital Blending your images becomes easy
- Installing the Panels is not difficult
- If you purchase Raya Pro, you get free future updates (this is great!)
Cons:
- Customer care could be improved a bit
Are Raya Pro 6 and InstaMask the best panels for Photoshop? I honestly don’t know because I haven’t tried every single panel available, but so far, they are my favourite, and I used them all the time. You can achieve the same results manually, but these panels will save you time and are more fun.
Since the day I tried them for the first time, I’ve included these panels in my workflow, and I use them every time I have to blend two or more images digitally. I still have a long way to go before I can master all the options, but I’m really happy and would recommend them to my friends. I recommend the video course because it will teach all you need to know to use Raya Pro. It’s easy to follow, and Jimmy makes it interesting.
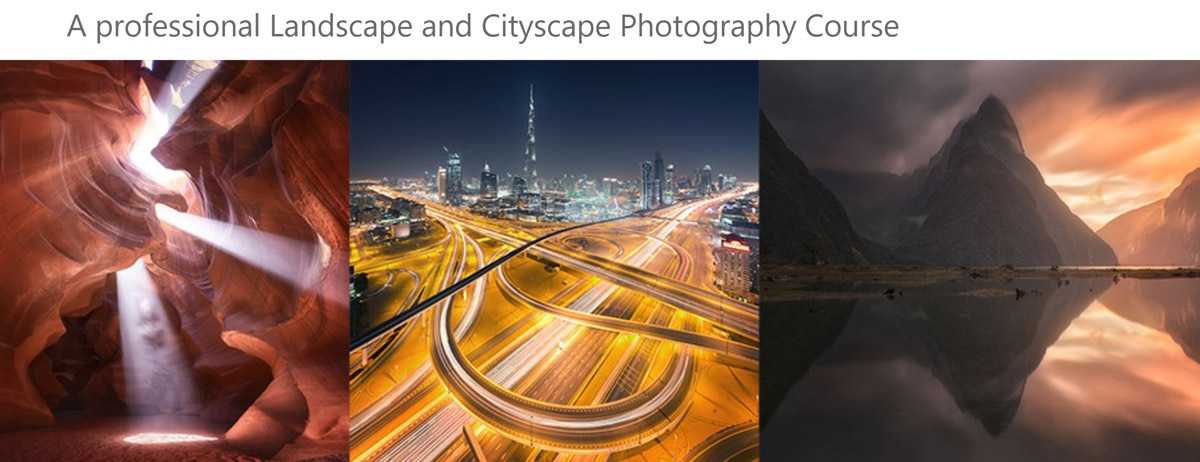
Jimmy also released a new in-depth tutorial called The Art of Photography. It’s a thorough video course (more than 6 hours) that covers this information:
- Introduction (3.26 minutes)
- 23 Tips For Better Composition (43.41 minutes)
- My Camera Gear (9.30 minutes)
- How I Set Up A Standard Shot (6.44 minutes)
- How To Bracket Correctly (11.07 minutes)
- How To Choose Images For Exposure Blending (13.12 minutes)
- Post-Processing – What You Need To Know (4.34 minutes)
- Luminosity Mask and Apply Image in Exposure Blending (37.25 minutes)
- How To Shoot Interiors (7.04 minutes)
- How To Process Interiors (22.59 minutes)
- How To Shoot and Process Sun Spikes (30.54 minutes)
- How To Shoot Long Exposures With ND Filters (12.33 minutes)
- How To Process Long Exposures (39.16 minutes)
- How To Plan And Shoot The Milky Way (16.22 minutes)
- How To Process A Milky Way Vertical Panorama (21.59 minutes)
- How I Shot The Lavender Fields (6.21 minutes)
- How To Process A Golden Hour Vertical Panorama Landscape (31.38 minutes)
- How To Plan And Process A Seascape Shot – Exposure Blending With A Single RAW File (26.49 minutes)
- How To Exposure Blend Cityscape Panoramas (13.54 minutes)
- How To Exposure Blend Landscape Panoramas (24.26 minutes)
Don’t miss my review of Photographing the World – Landscape Photography by Elia Locardi. Here you can find my complete review of Luminar Neo, an amazing software that uses AI to help you post-process your images.
Here is my guide on how to take better travel pictures. Here is my guide to start selling pictures and videos.
Salve Fabio, grazie per questa recensione e per riparlare sul web di Jimmy McCarty. Lo avevo scelto come tutor e acquistato Raya Pro 6. Ma da circa un anno e mezzo è scomparso dal web. Mi piacerebbe avere sue notizie, tu ne sai qualcosa? Grazie
Ciao Salvatore. L’ultima cosa che ho saputo è che ha problemi abbastanza gravi di salute purtroppo.
can you pls send detail how to purchase this software (Raya Pro 6 + InstaMask)
You just have to click the big button in the post.
Hi, thanks that’s an helpful review.
You said that you haven’t tried all PS panels. Which one havr you tried as well?
It would be interesting to know why this one is on the edge.
I am also considering ProPanel which seems great. That’s why I am asking.
Thanks. At the moment I’m also using TM Panel which is developed by an Italian photographer.
I use Raya PRO on all my images, even if it’s just to clean up some colour at the end of the process. I basically stopped using HDR software 3 years ago after I discovered this app. Photos look more natural with this method. I’m using it for Architecture, Commercial, Residential and even on my Drone shots.
Thanks for your feedback. I agree with you. You have much more control with Raya Pro.