ND filters are an essential tool for photographers and videographers. In this article, I will dive into what ND filters are, how they work, and why they are important.
Have you ever wondered how people take pictures of blurry waves and misty waterfalls? The answer is ND filters (neutral density). They are a must-have tool for every photographer and videographer.
ND filters come in different strengths and types and allow you to have greater control over your final image. In this in-depth guide, I’ll be covering everything from how they work to the different types available and why they’re essential for photography.
What are ND Filters and How Do They Work?
ND filters are darkened glass pieces placed in front of your camera lens to reduce the amount of light reaching the sensor. Unlike other types of filters, ND filters are neutral, meaning they don’t change the colour of your image, only the amount of light.
An ND filter is the only option when you want to take a longer exposure in bright light. Without it, the camera’s shutter speed would be too fast, causing overexposure. The strength of an ND filter is calculated in stops, with each stop cutting the light entering the lens by half. For instance, an ND8 filter reduces the light by three stops (one stop would be ND2, and two stops would be ND4), while an ND64 filter reduces it by six stops.
Why are ND Filters so important in Photography and Videography?

ND filters offer several benefits. These are the main ones:
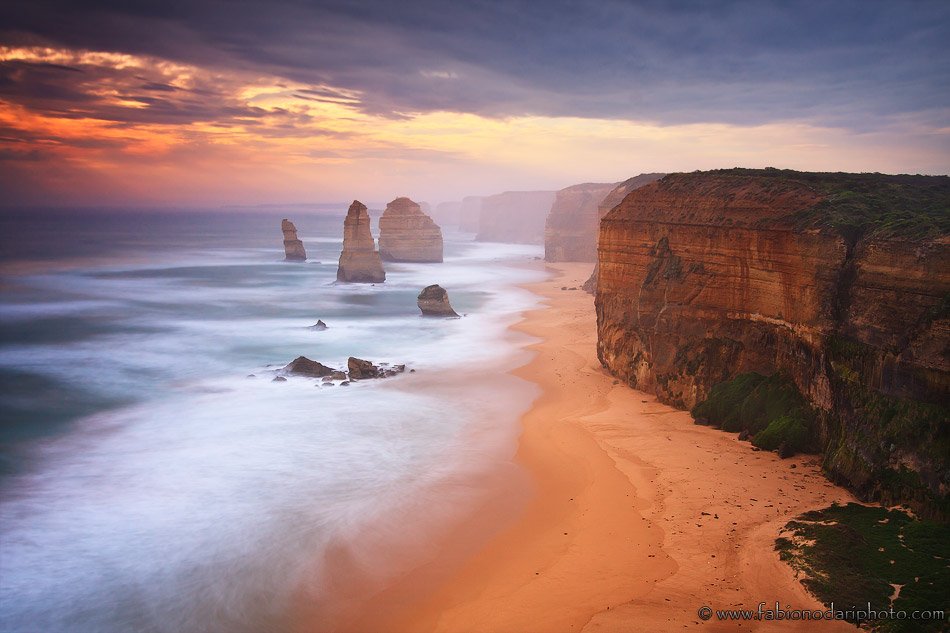
- Long Exposures: ND filters allow longer exposures even in bright light, resulting in images with more detail, clarity, and sharpness.
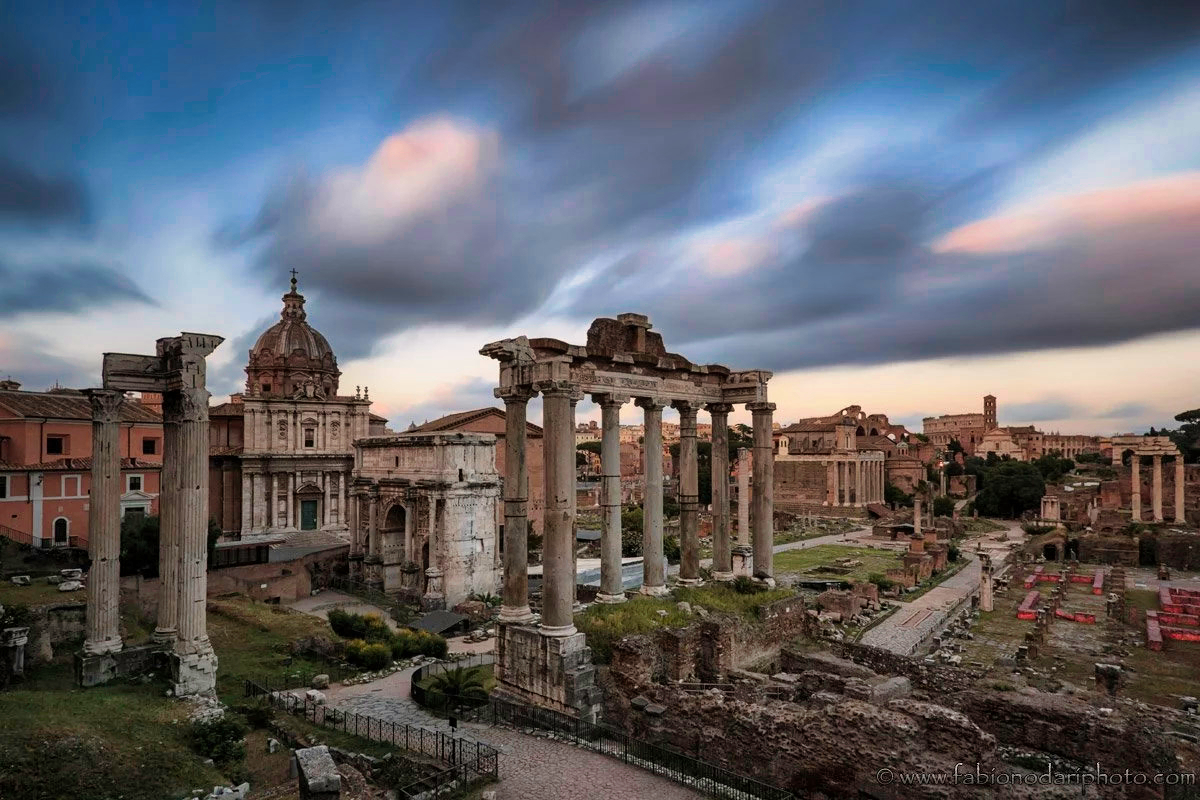
- Smoother Skies and Water: Long exposures can also create a calming, tranquil effect by smoothing out skies (when there are clouds) and water in landscape photos.
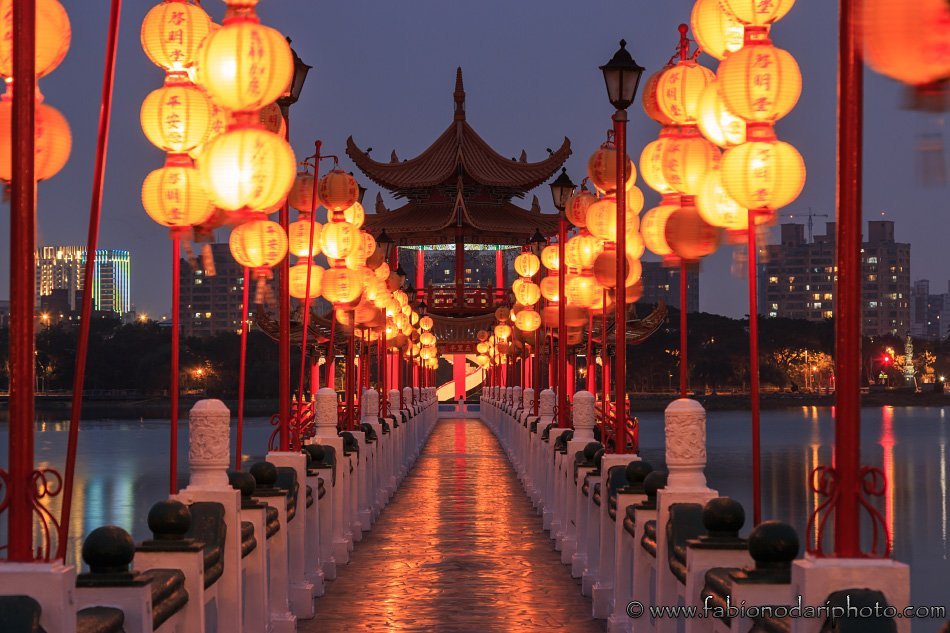
- Motion Blur: ND filters can be utilized to produce motion blur. Motion blur occurs when the camera captures an object’s movement over time, resulting in a streaked or blurred image. This happens when the camera’s shutter speed is slow, and the subject moves. The longer the shutter speed, the more the movement will be blurred.
- Depth of Field Control: ND filters can also help control the depth of field, allowing you to isolate your subject and add more dimension and depth to your image, which is especially useful in macro photography. To be fair, the best way to have everything in focus is to use another technique called Focus Stacking (the easiest way to seamlessly focus stack macro images is by using Luminar Neo).
- Control of the Shutter Speed: By reducing the light entering the lens, ND filters allow videographers to use slower shutter speeds. , which can help create a sense of motion and add a cinematic look to their footage. In videography, it’s important to respect the 180-degree rule, which refers to the relationship between shutter speed and frame rate. The shutter speed should be set to twice the frame rate to create a natural, cinematic look in your footage. Without an ND filter, you won’t be able to follow this rule.
Different Types of ND Filters
The most common are Solid ND filters, which reduce the amount of light entering the lens evenly across the entire frame. Graduated ND filters reduce the light entering the lens gradually across a portion of the frame while Polarizing ND filters reduce reflections and improve color saturation. Finally, Variable ND filters allow for adjustable levels of light reduction.
Each type of ND filter has its pros and cons so it’s important to think about what you actually need. Good filters (filters that are truly neutral and don’t have any color cast) are quite expensive.

Screw-on ND filters are easy to use and simply screw onto the front of your lens. They come in a range of sizes to fit different lens diameters, making them a good option for most people.
It’s important to note that screw-on ND filters can cause vignetting, or darkening around the edges of the image, if not used correctly. This can be particularly noticeable when using wide-angle lenses. As a rule of thumb, the wider the diameter of the lens, the more expensive they get.
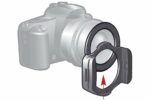
Square or rectangular ND filters are more flexible. Unlike screw-on filters, square or rectangular ND filters are mounted in a separate holder and can be used with multiple lenses of different sizes.
One of the key benefits of square filters is the ability to stack multiple filters. For example, if a 2-stop ND filter is not enough, you can simply add a 3-stop filter to the holder. Additionally, square filters can be rotated, allowing for greater control over the amount of light reduction in a particular area of the frame. Most of the time graduated filters come in this format because it’s the only one that allows you to move it up or down depending on where the horizon is located.
GND (Graduated Filters) vs Merging Exposures in post-production
There is an ongoing debate among landscape photographers regarding the use of GND filters on the field VS taking several pictures at different exposures and then merging them in Photoshop.
In the past, I was actually a big fan of GND filters and for that reason, I bought quite a lot of them. But in recent years, as I improved my post-production skills, I basically stopped using GND filters (ND filters, on the other hand, are not replaceable). Both methods can be used to balance the exposure between the sky and the foreground, but they each have their own pros and cons
Pros and Cons of GND filters

A GND is designed with a gradient, which transitions from clear to opaque, allowing for a smoother blend between the two areas. Using a GND filter in-camera has the advantage of being a quick and convenient solution that saves time in post-production.
But it also has many downsides. The main one is about space and weight. If you travel a lot you know how important it is to travel light and bringing tons of filters for every kind of light situation can add a lot of weight (the best filters are made of glass).
A second issue is the cost: good filters are expensive, as simple as that. And you’ll need at least 3,4 filters to cover the most common light situations. If you drop the filter (it happens more than you can think of) you’ll have to buy another one…
The final, and in my opinion the true limit, is that GND filters can be difficult to align correctly, especially when shooting at odd angles or trying to maintain a level horizon. If the filter is not positioned correctly, the transition from dark to light may be too abrupt or not appear natural in the final image. This can result in an unsightly line or band in the image that can be difficult to correct in post-processing. In some situations, it’s simply impossible to use them. If for example there are a bunch of trees or buildings or any other element that overlaps the sky, those elements will be darkened as well and it will take a long time to fix them in post-production, thus defeating the purpose of using a GND filter in the first place.
Pros and Cons of Exposure Bracketing
On the other hand, merging multiple exposures (exposure bracketing) in post-production is a more flexible method that gives you complete control over the final result.
By taking multiple photos with different exposures, you can combine them to create a final image that accurately represents the dynamic range of the scene. This method is particularly useful when the brightness difference between the sky and the foreground is extreme, as a GND filter might not be enough.
The main disadvantage is that it requires more time and technical know-how, as you have to take multiple photos and then blend them together in post-production. Fortunately, there are plenty of tutorials and specialized plugins that will help you to master this technique. If you want to have total control over your image I recommend reading my review of Raya Pro, a Photoshop Plugin created to help you seamlessly blend two or more exposures. If you prefer faster solutions then Luminar Neo is the perfect software (check out my review).
In summary, using a GND filter and merging multiple exposures in post-production are two different methods to balance the exposure between the sky and the foreground, each with its own advantages and disadvantages. Ultimately, the choice between the two methods depends on your specific needs and preferences.
Final Thoughts

In conclusion, ND filters are an important tool for photographers and videographers. They can help you achieve your creative vision by allowing you to manipulate the light in the scene.
Whether you’re an amateur photographer or a professional videographer, incorporating an ND filter into your photography gear is a wise investment. So, don’t wait any longer, start exploring the world of ND filters and take your photography to new heights!
If you want to learn how to take better travel pictures don’t miss this post. If you are interested in selling your images, check out my guide.


These pictures are gorgeous, I am still on an iPhone, but have always found digital photography quite soothing. So I am assuming that you carry these filters with you most of the time? Also, would you mind me asking what kind of camera you use if you haven’t already posted this somewhere on your site?
Thanks,
Chris
Thank you… Actually I use a 70D.