Read my review of LRTimelapse, the best software to create smooth day-to-night time-lapse videos.
LRTimelapse is simply the best software to create flickering-free time-lapse videos. Developed by the German photographer Gunther Wegner, it has improved over the years.
If you are into time-lapse photography, there isn’t much to add since you probably already use this software. However, If you are unfamiliar with it or have just started making first-time lapse videos in this review article, you’ll find some useful information.
What is a time-lapse video?
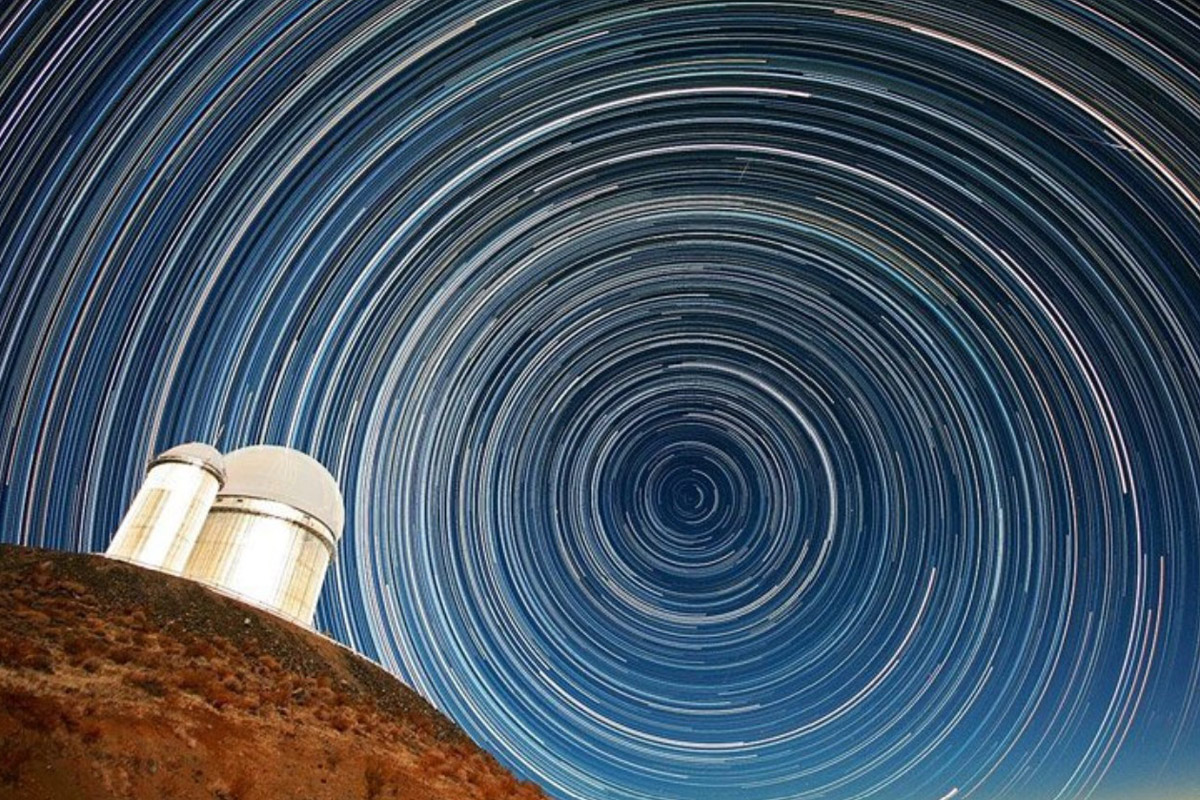
Time-lapse photography is a technique where the frequency at which film frames are captured (the frame rate) is much lower than that used to view the sequence. When played at normal speed, time appears to be moving faster and thus lapsing. For example, an image of a scene may be captured once every second, then played back at 30 frames per second; the result is an apparent 30 times speed increase.
This means that processes normally appear subtle to the human eye, e.g., the sun’s and stars’ motion in the sky or plant growth, become very pronounced. Here’s a classic example.
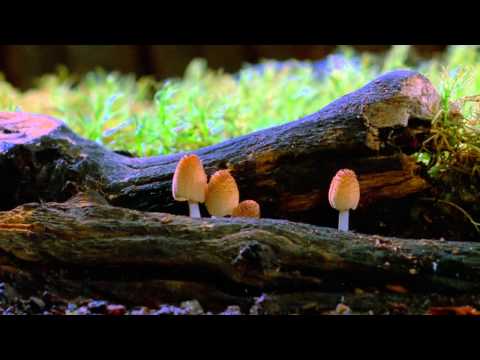
As you can see, the result is pretty awesome. Interestingly, this is not a new technique. It is actually quite old. The first use of time-lapse photography was in Georges Méliès’ motion picture Carrefour De L’Opera in 1897.
Obviously, today, it is much easier to create time-lapse videos. So much so that the newest smartphones have this option, and anyone can now record their own time-lapse videos.
One thing is using a smartphone to create simple time-lapse videos; another is creating professional 4K or 8K time-lapses that you can sell. You’ll definitely need specific software, which is why LRTimelapse is fundamental.
Why do you need LRTimelapse?
There are many software that allow you to create a time-lapse video. If you want, you can use Photoshop or, even better, After Effects, and they all work fine if you are recording a time-lapse during the day.
Things get much more complicated if you are shooting at sunrise or sunset. That’s because usually when you record a time-lapse, you set your camera and then wait until it has recorded all the images. The problem is that at sunrise or sunset, the light changes quickly, and you’ll have to keep adjusting the exposure accordingly. Even if you do it correctly, you’ll soon realize that the video will suffer from an effect called flickering. In other words, you’ll see subtle changes of exposure in the final video that are very difficult, if not impossible, to remove.
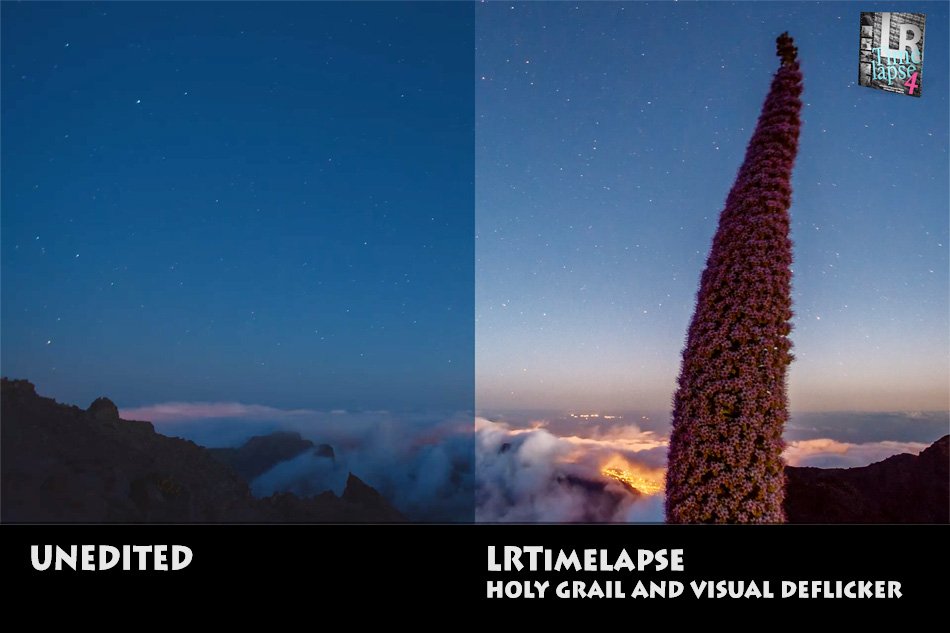
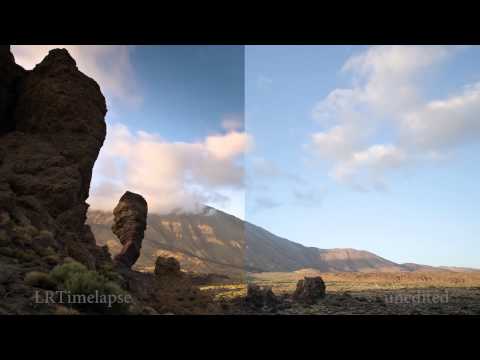
That’s why you’ll need to edit the video using LRTimelapse. You can easily eliminate all the flickering and create a nice and smooth day-to-night (or night-to-day) time-lapse video.
This is what I’m talking about:
How does LRTimelapse work?
The concept’s pretty easy. Rather than manually editing every single shoot to adjust the different exposures, this software will analyze all the metadata in the images. It will then provide a graphical representation of the exposure changes and mark a few Key Frames, so you only have to edit a few images manually. LRTimelapse will take the adjustments made on those files in Lightroom and apply a smooth transition to the rest of the video.
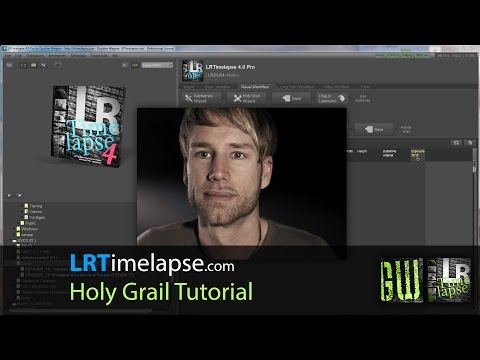
This is the complete tutorial on how to use this function, called Holy Grail.
As you can see, what this software can do is quite impressive. It will definitely change how you record your time lapses and help you boost your sales if you sell stock footage.
I just started using LRTimelapse, and I know I must practice a lot before I can master it. But the good thing is that since there are so many photographers using it, there are plenty of tutorials on YouTube.
I won’t write a detailed tutorial about this software because you can find one on the official website, but what I can say is that it’s important that you use your time-lapse camera correctly.
You’ll definitely need a tripod, and you’ll need to shoot in manual mode, including manual ISO and manual white balance. You’ll also need to focus manually before you start shooting, and don’t forget to disable the lens stabilizer. This is fundamental because it will allow you to start with good pictures you can easily edit.
If you shoot a sunrise or sunset time-lapse, you must adjust the exposure according to the light. This is where things can get a bit messy. You can do it manually by changing your camera’s settings while recording. In this case, you’ll have to be super careful not to move it or ruin the entire shooting. The best option, however, would be using an app on your smartphone like DslrDashboard so that you don’t have to touch your camera.
Using LRTimelapse + qDslrDashboard
This option is more complicated, but it’s definitely the best thing to do. With qDslrDashboard, you can change your camera’s settings from your tablet or smartphone. But you can do something better. You can automate this process and let qDslrDashboard change the setting for you while the sun rises or sets! This tool makes recording time lapses at sunrise or sunset easy. You can eventually enjoy the scenery while drinking a beer and waiting for the camera to finish the job.
If you just started taking time lapses, maybe it’s better to wait until you become more familiar with LRTimelapse and then try DslrDashboard. But remember that whatever you decide to do, there is a learning curve, and you’ll need to invest time in learning new things.
There are three versions of LRTimelapse, and they have different features. The free version has a lot of limitations, but it’s a good choice if you want to see the potential of this software. Here are more details.
Last, you can buy the official eBook (free if you get the Pro version), which will teach you all you need to know about time-lapse photography.
To summarize, here are some of the Pros and Cons of LRTimelapse:
Pros:
- You won’t find anything better. LRTimelapse is simply the best software
- Since this software is widely used, you’ll find a lot of info and tutorials on how to use it properly
- You can use the basic version for free
- If you are familiar with time-lapse videos, the workflow is pretty straightforward
Cons:
- It can be a bit difficult to use it if you just started creating time-lapse videos
- You need Lightroom to use this software
- The Pro version is a bit pricey
Here, you can find a review of a great tool for Photoshop, Raya Pro, which easily merges two or more exposures. Here is the review of Photographing the World 1, one of the best video series to improve your landscape photography skills. Here’s my guide on how to take better travel photos.

Fabio you are leaving my dream. My two passions are photography and travel but I’m stock in this 40+ weekly/hours job.
Hi Gus, All I can say is: if you truly believe in your dreams, work hard and don’t give up. You might not be able to achieve them, but at least you had tried. 😉